


Installation (Step-by-Step)
It includes a built-in web installer that guides you through the entire setup process step by step. No manual command execution or configuration files are required.
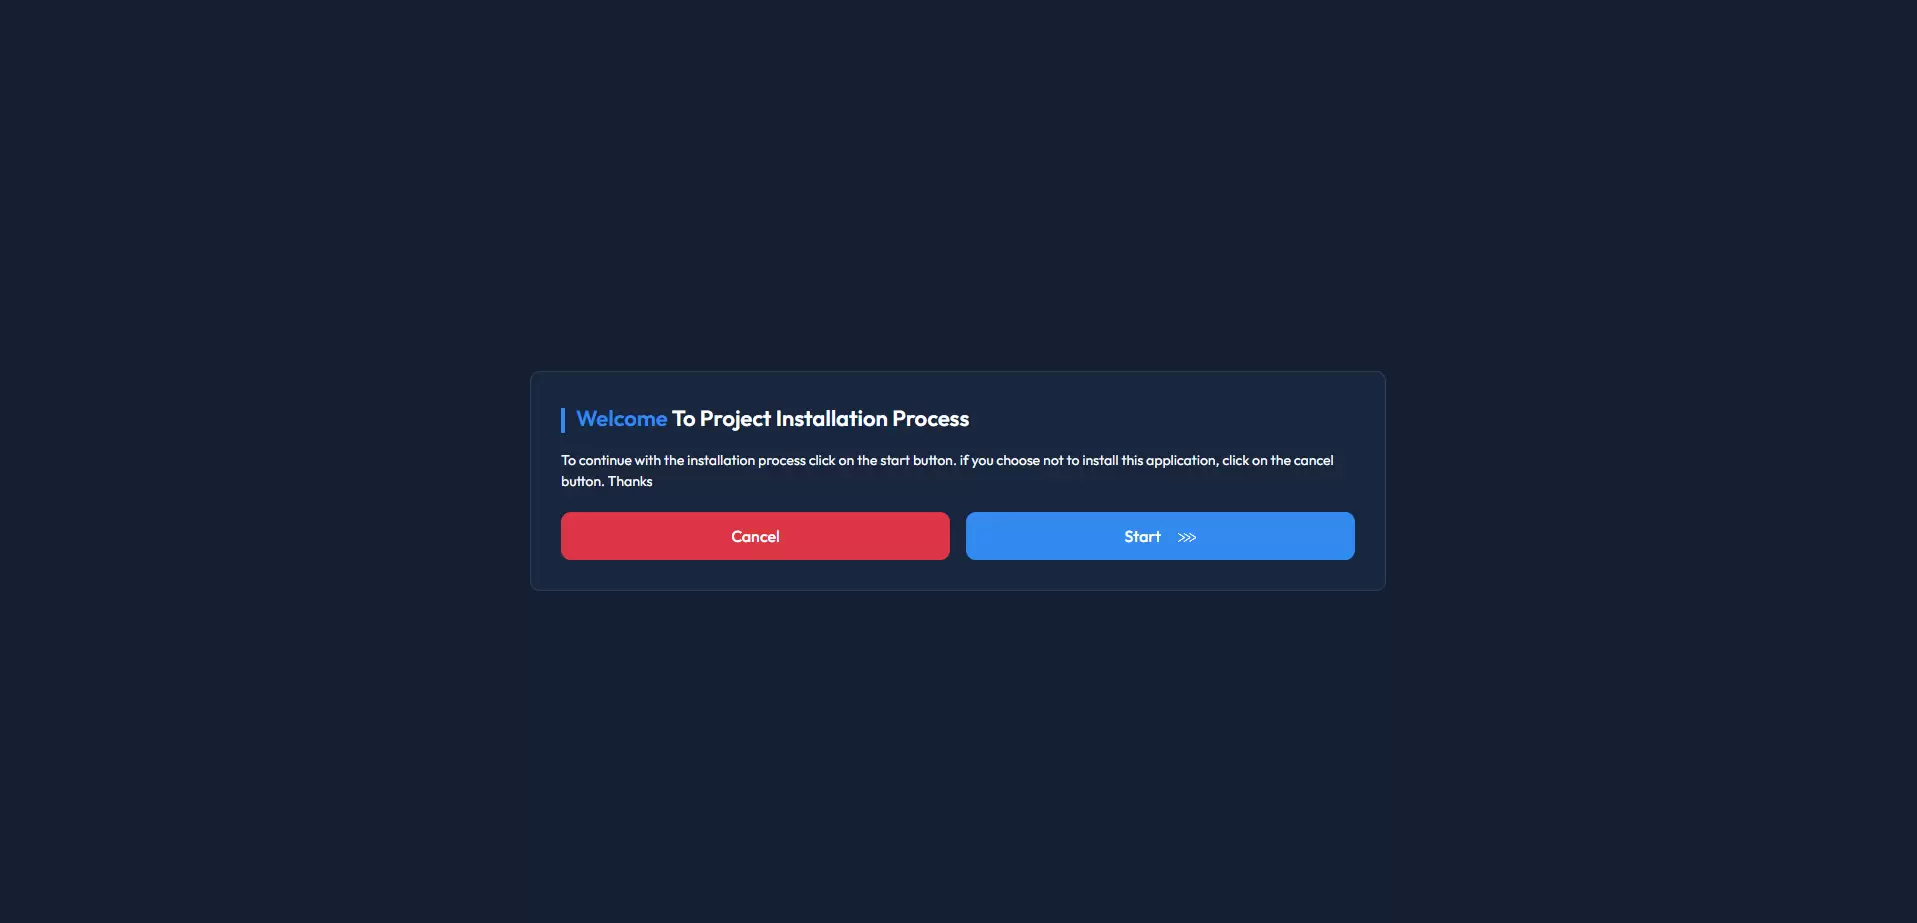
Step 1: Start Installation
- Open your domain in a web browser after uploading the web files.
- You will see the Project Installation Process welcome screen.
- Click the Start button to begin the installation.
- If you do not wish to continue, you may click Cancel.
Step 2: Check Server Requirements
The installer will automatically verify your server configuration, including:
- PHP version
- Required PHP extensions
If all requirements are met, you will see green check marks next to each item. Click Next to proceed.
If any requirement fails, please contact your hosting provider to enable the missing extension before continuing.
Step 3: Product Key Validation
Enter your Product Key in the provided field.
Click Verify the Key to validate your purchase.
This step ensures your purchase is verified before installation continues.
Step 4: Configure Database
Provide your database information carefully:
- • Application Name (e.g., Crypex)
- • Database Host (default: localhost)
- • Database Port (default: 3306)
- • Database Name
- • Database Username
- • Database Password
⚠ Do not use spaces in database name or username.
⚠ Do not use special characters like # in the database password.
After entering the details, click Continue.
Step 5: Migrate Database
The installer will display your database details for confirmation. Review the information carefully.
At this stage:
- Database tables are created automatically
- Required data is seeded automatically
No manual migration or seeding is required.
Step 6: Create Admin Account
Set up your admin account by providing:
- Admin email address
- First name
- Last name
- Password
Click Continue to complete this step. These credentials will be used to access the admin panel.
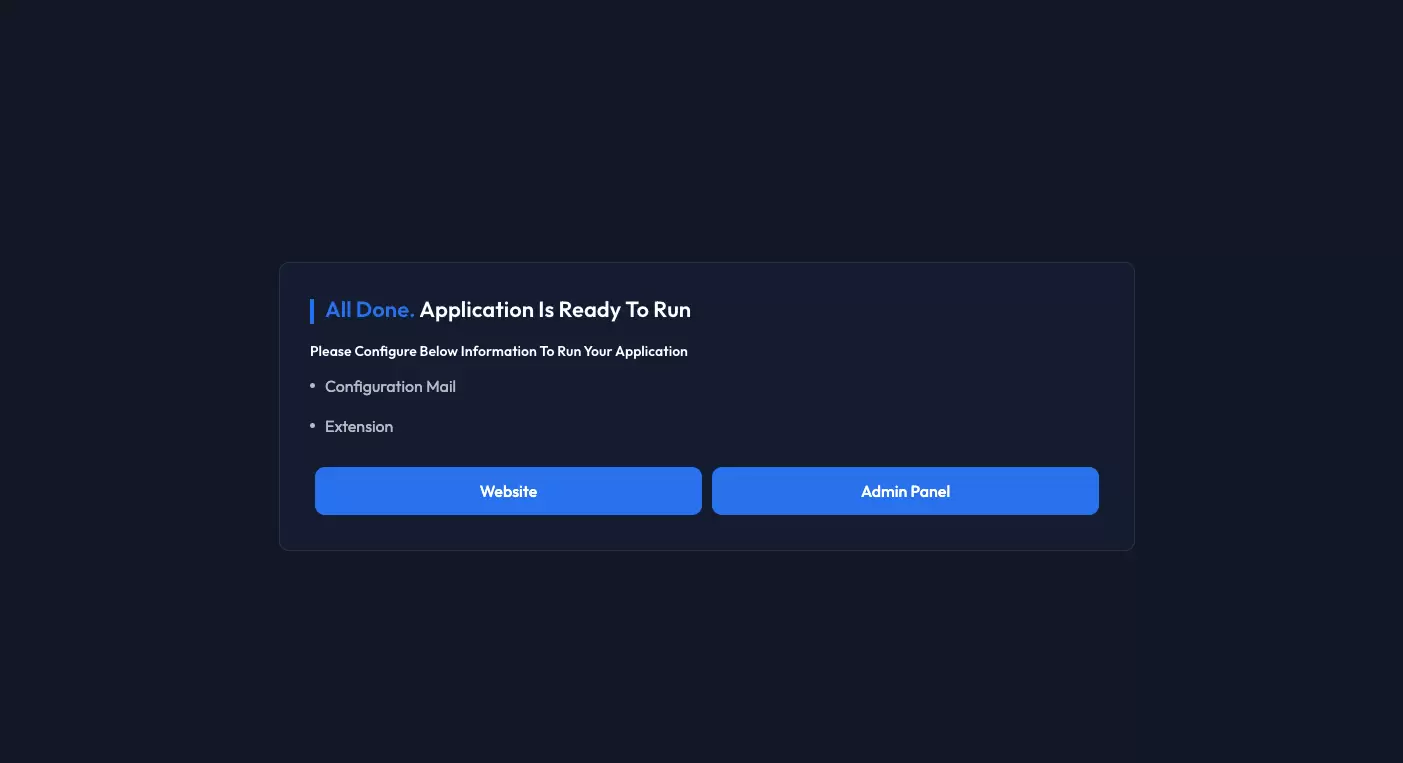
Step 7: Installation Completed
Once all steps are completed successfully:
- The installer will finish the setup process
- You will get options to redirect website and admin login page
Your Crypex system is now installed and ready for use.
Important Notes
- • Do not refresh or close the browser during installation.
- • Run the installer only once per database.
- • Always keep a backup before reinstalling or updating the system.